Imagine waking up on a slow morning on a weekend: sunlight streaming in, birds chirping, and you scoop into a jar of thick, and all of a sudden, you crave a cup of thick, creamy Greek yogurt for breakfast. But you don’t have the store-bought ones in your refrigerator, nor do you wish to slip out of your pajamas and go for a quick grocery run this early in the morning.
What do you do, then?
You decide to whip up a bowl of Greek yogurt right at home!
Greek yogurt, made at home – creamy, smooth, tangy, and purely yours. No store tags, no weird stabilizers, just something you made yourself. Making it yourself means choosing whole milk or lighter milk, adjusting how long it ferments (that’s what gives flavor), and deciding exactly how thick it gets.
That’s the magic of making Greek yogurt at home with just milk, live-culture yogurt (starter), and time. It’s satisfying, economical, and you get to control how rich, how thick, how tangy it ends up. Whether you want a plain base for smoothies, tzatziki, overnight oats, or just for spoon-licking, homemade Greek yogurt is surprisingly easy and convenient.
But it’s not just about the richness; there’s real nutrition in the Greek yogurt as well. It packs more protein than regular yogurt, offers probiotics (those friendly gut bacteria), calcium, B vitamins, and can be easier to digest because much of the whey (liquid part) is strained off.
So, what do you need to make some Greek yogurt at home? All you need is a couple of very basic ingredients, a bit of patience, some warmth, and the joy of creating something wholesome in your kitchen.
Let’s get started, shall we?
What we need
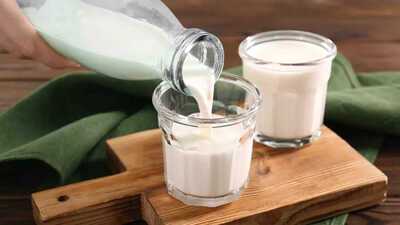
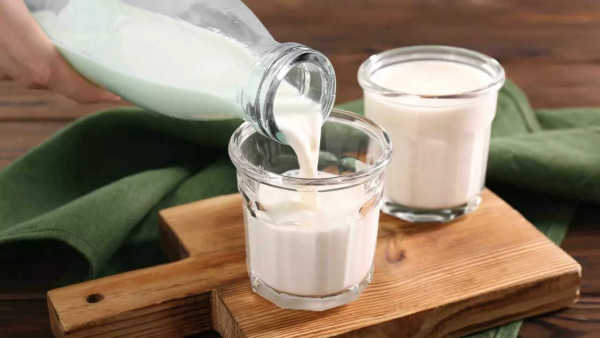
Milk: Get the container of whole milk for the richness of Greek yogurts. 2% works too if you want slightly lighter yogurt. Remember, the quality of milk matters. Some people use pasteurized milk (the usual), but if you can get fresh, good-quality milk, your Greek yogurt will feel more luxurious.
 Starter yogurt (live culture yogurt):
 This is plain Greek yogurt (store-bought or from a previous batch) or any plain yogurt with active/live cultures. You need only a small amount (a few tablespoons per liter of milk) to begin the fermentation. These cultures are what turn milk into yogurt. They are the bacteria that convert lactose into lactic acid.
Patience (a lot of it!): You’ll need to heat the milk, cool it to the right temperature, add starter, and then let it sit undisturbed in a warm place. Fermentation takes several hours (commonly 6-12 hours or more, depending on how tangy you like it).
As an optional additive, you can add vanilla extract or flavoring (if you want lightly flavored yogurt). It’s not essential, but it adds a lovely aroma/taste. If you prefer completely plain yogurt, you can skip this.
How to whip up the Greek yogurt: Step-by-step process
Heat the milk: Warm it gently to about 175-180°F (≈ 80-82°C) to change the milk proteins so yogurt sets better. If milk isn’t heated or is heated too low, yogurt may stay runny.
Cool to ideal culture temperature: Bring it down to about 110°F (≈ 43-45°C). That’s warm enough for the culture bacteria to work, but not so hot that it kills them. Use an ice bath or just let the milk cool on the stove with occasional stirring.
Mix in starter: Take a small portion of the warm milk, mix it into your starter yogurt (so it smooths out), then stir that back into the rest of the milk. It helps the culture distribute evenly.
 Ferment (Incubate):
 Cover, keep warm, and let it sit for 6-12 hours or more. Longer fermentation gives a stronger flavor (more tang). You can use the oven with the light on, a yogurt maker, or wrap the container in towels. Minimal disturbance during this time helps texture.
Strain to get Greek-style thickness: Once yogurt has set (you’ll see it firm up), pour it into a sieve lined with cheesecloth or fine muslin over a bowl. Let the whey drain off in the fridge for a few hours (2-10 hours, depending on how thick you want). The longer you strain, the thicker the yogurt – good for dips or desserts.
Optional flavoring: If you want, stir in vanilla (a little), honey, or flavor afterwards. But plain is great, especially for recipes.
Cool and store: After straining, chill the yogurt in an airtight container. It’ll firm up more in the cold. Properly stored, homemade yogurt lasts about a week or more. Save a spoonful of your batch to use as a starter next time.
Why each step holds equal importance
Heating milk high enough kills unwanted bacteria and helps the yogurt texture. If you don’t heat and cool properly, yogurt might stay watery or runny.
Using a good starter with live cultures ensures fermentation. If the starter is weak or old, the yogurt may not set.
Keeping a steady warm temperature is crucial. Too cold, and bacteria work slowly (or stop); too hot, and they might die.
Straining is what separates “regular” yogurt from thick Greek yogurt. Without enough straining, it’ll taste more like regular yogurt, less creamy cheese-like.

Pros, tips, and fun tricks
The secret behind acing your Greek yogurt? Here are some easy hacks:
Protein boost and less whey: Strained yogurt has more protein per spoon because whey (liquid) is removed.
Control ingredients: you decide fat level, sugar, flavors; no mystery additives.
Flavor options: add fruit, vanilla, spices (cinnamon, cardamom), or herbs later.
Cost-saving: once you have the starter, costs are mainly milk, which is cheaper than buying premium Greek yogurt all the time.
A few pointers to keep in mind:
If yogurt turns watery or separates too much, maybe incubation was too short or the temperature fluctuated.
If it tastes bitter or overly sour, fermentation may have gone too long, or the starter culture got contaminated.
Weak setting could happen if the starter is too little, the milk was ultra-pasteurized and protein-damaged, or the straining is not enough.
Finally, hygiene matters a great deal. Utensils, jars, and cloths must be clean, or unwanted bacteria may spoil flavor or safety.
Making Greek yogurt with just three ingredients sounds simple, and it really is – the cruciality lies in getting it perfectly thick, creamy, and tangy. It takes a little patience and attention to the small steps: heat, cool, start, ferment, strain. Once you master your version, you’ll find yourself reaching for homemade Greek yogurt regularly: for breakfast bowls, dips, desserts, or just a spoonful straight from the jar.


